Showing posts with label DIY. Show all posts

Monday, 24 February 2014

Picture Problem Solving

You may remember that we hung some photos on the chimney breast in the living room, and attempted the bedroom.

However the wall appears to be made of titanium, ok probably not but something really solid. In our old house I would have just got the drill out and hung some more heavy duty screws but Landlord was really specific that it must only be small picture hooks (the piddly little ones that come with teeny tiny nails). These had just about worked in the living room, although I would personally not use them again as they were massively fiddly and damaged the wall more than just using screws or nails in my opinion.


Anyway, the walls then stayed like this in the bedroom for a while (months) while I nagged Tom to fill and paint it. Then I did it myself and he got the paint from his dad. Nowhere does tester pots of decorators white, you have to buy a whole bucket of it, which is not what we wanted to do for this tiny amount of painting so we went to borrow a cup of paint.

All remedied and tidy, but still no pictures. Then I saw this on pinterest.
Then I noticed that our wardrobes are the same height...so I went and bought a curtain pole and laid it across the wardrobes.

It sat like empty for a while until I went and got some picture rail hooks. On a side note how awesome would a picture rail be in a rented place?

Now it looks like this!
The small canvases are from Asda a few years ago, they came as a 3 with the 'home sweet home' canvas which is currently on the dining table. I'm debating taking them out as the uneven number looks a bit weird and they fall off occasionally...I might see how it goes but I'm sure the pictures will change around a lot on here anyway!
I won the other 3 prints a while back and they've been floating around the flat looking for a home. I originally wanted to hang this canvas there but it's too big and made the rail sag in the middle, so I stuck to smaller lighter things. The love canvas was a Christmas present from Toms mum it is made up of photos of us.
 The pole came with 3 brackets for hanging, and I had a bit of a brainwave...
 Finally somewhere to put the dressing gowns! They've just been hanging about for ages, the brackets are just tucked under the ottomans.
So far so good except for a few incidents of them falling off when we slam the wardrobe door too hard or if we catch the pole when getting our dressing gowns out, but these have gotten less now we have got used to it being there.

I like that this is easily interchangeable and we can add to it as we go, I'd like to maybe create some hanging flowers or lights but for now it's just nice to have something in here! I'd really like it to look a bit more dramatic like the inspiration pic, so I'm on the look out for some straps or hanging implements of some sort...

Wednesday, 9 October 2013

Simple Lavender Parcels

I've been posting in the wedding blog recently, check it out here if you're interested in weddings! In Mondays post I showed you how to make the lavender bags from dress sleeves, but only using the sleeves seemed a bit wasteful so I also made 2 lavender parcels for use in the drawers.

Cut a rectangle of fabric (again size depends on how much lavender you want to use) I wanted these pretty small
 Sew up 2 sides to make a pocket
 Turn inside out and fill with lavender
 Sew up the top
Fold the top over into a point, hiding the stitching. I just added the bead for a little decoration and to disguise the stitches a bit (I am not a neat sewer!) but I think it looks like a little clutch bag!

I also did this one following the same steps at the start but I didn't sew the top of the pouch closed just folded it over and sewed it down, adding the button to hide the sewing.


They take literally a few minutes to make, 10 minutes tops and I am no expert at sewing (I actually really suck at it) so I'd say most people could whip up a few of these one evening!

Now I have my lovely lavender bags all ready to make my clothes smell pretty.
This project has given me the confidence to try sewing a little more, as I thought I was terrible at it but they turned out great, baby steps though I won't be whipping up dresses just yet...maybe some pillow covers though...

Monday, 7 October 2013

Simple Lavender Bags

It feels like forever since I've actually had a project to share with you so this week I'll skip the decluttering post as I've not had much time to actually get any of it done and share the lavender bags I made (ages ago) from the lavender out of our garden.

The lavender had been drying for about a month in various places round the house, then sat on the coffee table for a few weeks until I got around to doing these, so it was nice and dried out.

I used an old dress which I had spilled nail varnish over and ruined, using the sleeves is easiest as they're already hemmed on the cuffs and are already tubular.

Cut off the amount needed (this will vary by what size you want and how much lavender you have to fill them)
 Turn it inside out and sew up the one side
 Turn it right way out again, and you get this nice little pouch
Sew the hemmed cuff part closed, making sure to only sew the insides of the hems together so it can't be seen from the outside. I don't recommend using your leggings to hold your needle but I don't have a pin cushion...
Add in a ribbon halfway along for hanging by just placing it between the 2 sides and continue sewing them together (this is a bit fiddly but I got there in the end)
Other ways I did think you could attach this if it really gets impossible would be to just loop the ribbon and sew it onto the top front of the pouch using a button or cute brooch to hide the stitching (unless you are really neat and can make the stitching look pretty - this is beyond my skills)
 Fill it up with lavender (I also used some dried mint for freshness) before sewing the last bit
 Ta-Da!
I'm pretty proud of them, I never sew and am pretty bad at it but these are so easy even I managed it. All you need is some material, ribbon, needle and thread and of course the lavender. This project was 100% free as I used things we already owned but if you had to buy it all in it would be under £5 I think as you only need a minimal amount of fabric, some hankies or scraps would do.

I also used some more of the fabric for some smaller little parcel ones for inside drawers, post on those coming up soon!

Monday, 2 September 2013

If we owned our flat

Time for this months look at what we would do if this place was ours, Wednesday will be an update on the start of the decluttering, so if you're joining in stop by and let us know how you're getting on.

If this was our flat I'd have more kitchen storage, seriously we only have one upper cabinet! The boiler is in one so only the one on the right can be actually used.
3 of the 4 walls in the kitchen have no upper storage on them, and we only have 4 usable cabinets and one drawer in the kitchen. It's such a random design, I'd have upper cabinets on one wall (Like continuing round in an L shape above the 'breakfast bar' and joining up to the current one on the right) and some open shelves on another, probably open shelves on the wall with the window so not to block any light.
It would really help get stuff off the counter tops and make the kitchen a bit more functional, the only reason I could see as to why it isn't already there would be as it's a small kitchen too many overhead cabinets might make it feel a little closed in, which is why I would do open shelving on one side.

Monday, 5 August 2013

Drying Lavender

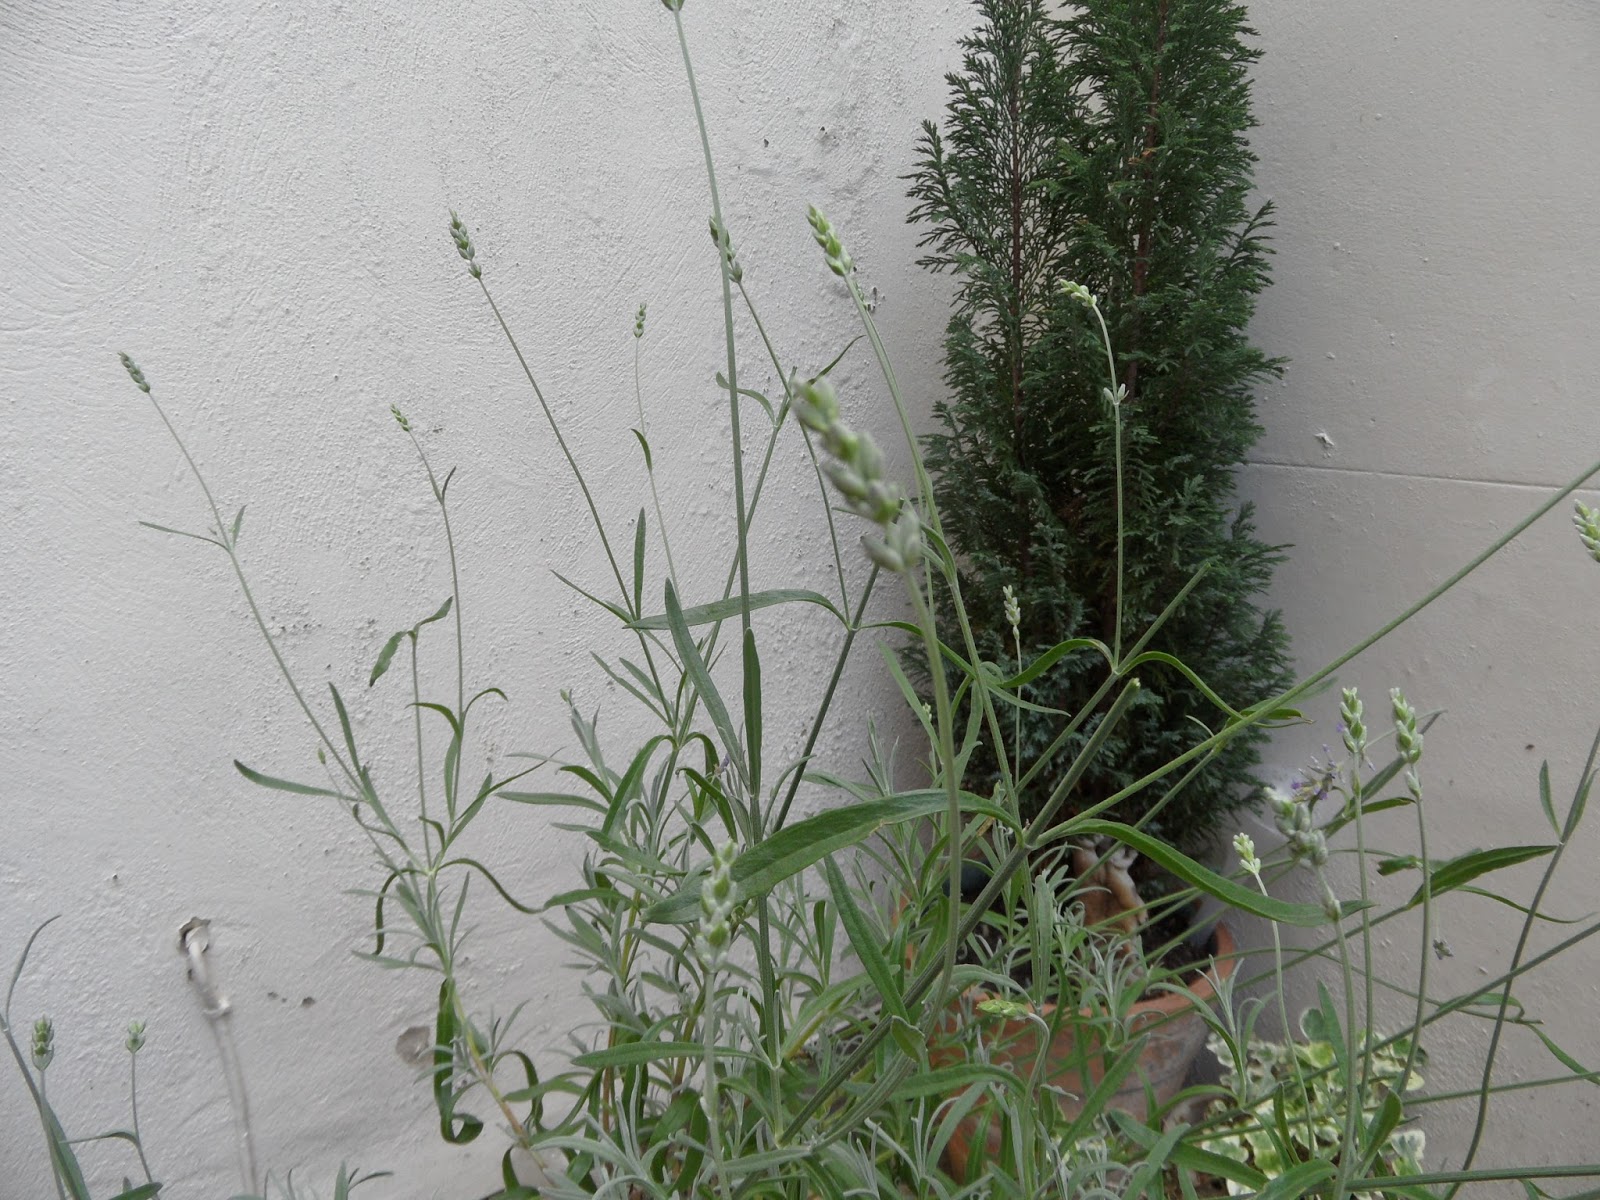
The last few weeks our garden has all come into flower and fruit, so I've been having fresh tomatoes and rocket from the garden in my sandwiches (So good!) and the lavender was smelling lovely.
So I trimmed off a few of the stalks with flowers, making sure to leave a few on there for the bees (bees love lavender and we've got to help them out) and to make sure we get more next year
I was left with a good amount of lavender, although they had different length stalks. All the things I read said to cut them off just above the leaves and this varied per stalk.
All the tutorials I did read varied on how to actually dry the stuff though! Most agreed they need to be out of sunlight to keep their colour but they varied in how to actually do it. So I thought I'd try a few ways and see what worked best. One said to tie each stalk individually then tie bunch them together and hang upside down (this seemed a lot of effort!)
Others said just to bundle together, and hang upside down or just leave in a cool dark place, so I did 2 bundles just tied together 
 I also left a few untied as some tutorials didn't ask for it to be bunched together
One bundle and some of the individual ones are just in a pot on the table, this room doensn't have any windows so gets minimal sunlight
That's mint in the bottom, we had some left from mojito making a while back and Tom thought it would smell nice in there. I like it as a table decoration.
The individually tied bunch is hung in the wardrobe in the hallway
 The other bundle is hung in my wardrobe making my clothes smell nice
 And the rest of the individual stalks are in the bottom of Toms wardrobe
We'll see which ones work best, the bundles and individual stalks are definitely the easiest and I can't see how tying them individually has any more benefit...

When it's dry I'm going to try making some drawer and wardrobe fresheners, hopefully they will be pretty easy as my sewing isn't great!

The garden is a bit changed about at the moment and we were making mojitos because just before I did this we had a barbecue so that garden looked like this
First barbecue in our little garden and it worked out ok, not too cramped, we just need to put the garden back together!

Wednesday, 3 July 2013

New Feature - If we owned our flat...

Well the payday wishlist fizzled out pretty quickly (one month!), mainly because I didn't find them very interesting to write or read so figured you probably didn't either...if anyone has a burning desire to see them again let me know?? I also have been trying out a new posting schedule, Monday, Wednesday and Friday. I found posting over the weekend a bit of a struggle as I need time to actually do the projects to write about them so trying out not doing the Sunday post.

So new regular post, 'If we owned our flat', often as a tenant you discover something about your place that makes you think 'If I could I'd change that'. Often you can't change it but it's fun to theorize about what you'd do if you could...

This month I've picked the hallway, we have our entrance hallway then our small dining room/other hallway. If we could I would knock down the wall between them and make it into one large room. It would mean getting a new front door that is a bit better insulated so it wouldn't get so cold in there but it would be soo much more flexible!

Currently the rooms are like this
And like this

But look when the door between the 2 rooms is open how long the space is
If you could open that space up it would make the place seem so much brighter and bigger, I'd maybe put in a front door with full length glass to let in more light as our entryway is pretty secluded, you can't see into it from the road. It would be more flexible as well, as we rarely use the entrance hall for much more than storage, drying washing and walking through so it would be nice to actually use the space rather than have it so separated from the main living area. In a basement flat it would also be good to open up the small rooms a bit to make it feel a bit more spacious.

Of course it might be a load bearing wall or something and this might all be impossible but I think every tenant dreams about the things they'd change...what are yours?

Sunday, 2 June 2013

DIY Table Decorations

We had our engagement party last weekend at a local pub, it was pretty last minute although as I knew I was going to be away on my birthday I had already planned an informal meal/drinks on the Sunday already with a few people. We just made it more of an 'event' and invited lots of Toms family and friends as well.

I spent most of last week sorting out who was coming, booking the room and sorting menu choice but on Saturday managed to whip up some last minute table decorations.

I have a collection of jars that I keep for things like this (Tom was amazed I finally used them as I've had them ages!) so I thought I'd make 2 types of decoration, one for flowers and one for candles. I went into town on the Friday and picked up my materials

The stuff on the left is all from various pound shops, some organza, ribbon, balloons, mini pegs, paint (I also later got some table confetti and banners). The candles are all from Wilko, the small ones were £1 each, the large ones were £1.70 and the packs of 3 were £1.75.

I started with the painted jars, squeezing the paint into the inside of the jar and moving it around with a foam brush. I had hoped to get them all a light blue colour by mixing the blue and white paint but the first one came out marbled and I liked that better!


I left them all drying upside down to let any excess paint drip out (note: because of the paint being quite thick they take forever to dry and were actually still wet on Sunday when we were using them, so if you're trying similar do them further in advance!) then moved onto the candle decorations. My plan was to wrap the jars in the organza fabric add the ribbon and voilà! The first one I tried sticking down the organza to the jar but it didn't stick very well and I discovered wasn't really needed

These first 2 I also added in another sheet of organza but the finished article was a bit too fussy for my liking and since there were going to candles inside and the material kept going over the top (Fire Hazard!) I kept the rest of them a bit more simple!
I just wrapped the jars in the organza and tied the ribbon around the top and the bottom to secure it and add decoration
At this point I actually wasn't too keen on these bit I figured once they had candles lit and were glowing softly they would look prettier.

I had some ribbon left over so glued some around the top of the painted jars


And here they are in action


My mum very kindly got us the balloon bouquet
I ended up not using most of the candles, only using the small ones from the packs of 3 to put in the jars, as I felt we had enough and there were a lot of people eating so didn't want to crowd the table too much.

I really like the painted jars and have kept them, I added in a plastic cup to each one to put the flowers in. 

The decorations in total including the balloons and banners only cost £23.60 as it was mostly from pound shops!

We had a lovely party, with a meal and then a game of skittles as we had hired the back room with the skittle alley in and an evening of (far to much) drinking! 

I will probably not talk too much about weddings etc on here (we don't even have a date set yet or anything although looking at next year) although any projects like this that could translate to a non-wedding/engagement event or home décor (I'm going to find a home for some of those painted jars in our home) I will share. I'm sure there will be a lot of projects to do for the wedding and some of them will be of interest.