Showing posts with label art. Show all posts

Monday, 24 February 2014

Picture Problem Solving

You may remember that we hung some photos on the chimney breast in the living room, and attempted the bedroom.

However the wall appears to be made of titanium, ok probably not but something really solid. In our old house I would have just got the drill out and hung some more heavy duty screws but Landlord was really specific that it must only be small picture hooks (the piddly little ones that come with teeny tiny nails). These had just about worked in the living room, although I would personally not use them again as they were massively fiddly and damaged the wall more than just using screws or nails in my opinion.


Anyway, the walls then stayed like this in the bedroom for a while (months) while I nagged Tom to fill and paint it. Then I did it myself and he got the paint from his dad. Nowhere does tester pots of decorators white, you have to buy a whole bucket of it, which is not what we wanted to do for this tiny amount of painting so we went to borrow a cup of paint.

All remedied and tidy, but still no pictures. Then I saw this on pinterest.
Then I noticed that our wardrobes are the same height...so I went and bought a curtain pole and laid it across the wardrobes.

It sat like empty for a while until I went and got some picture rail hooks. On a side note how awesome would a picture rail be in a rented place?

Now it looks like this!
The small canvases are from Asda a few years ago, they came as a 3 with the 'home sweet home' canvas which is currently on the dining table. I'm debating taking them out as the uneven number looks a bit weird and they fall off occasionally...I might see how it goes but I'm sure the pictures will change around a lot on here anyway!
I won the other 3 prints a while back and they've been floating around the flat looking for a home. I originally wanted to hang this canvas there but it's too big and made the rail sag in the middle, so I stuck to smaller lighter things. The love canvas was a Christmas present from Toms mum it is made up of photos of us.
 The pole came with 3 brackets for hanging, and I had a bit of a brainwave...
 Finally somewhere to put the dressing gowns! They've just been hanging about for ages, the brackets are just tucked under the ottomans.
So far so good except for a few incidents of them falling off when we slam the wardrobe door too hard or if we catch the pole when getting our dressing gowns out, but these have gotten less now we have got used to it being there.

I like that this is easily interchangeable and we can add to it as we go, I'd like to maybe create some hanging flowers or lights but for now it's just nice to have something in here! I'd really like it to look a bit more dramatic like the inspiration pic, so I'm on the look out for some straps or hanging implements of some sort...

Wednesday, 21 August 2013

Winner!

I won my first ever blog give away prize recently and they arrived on Monday!


The give away was from sfgirlbybay and the prints are by Emily Barletta, from Mammoth and co. I'm debating where to put them at the moment, any ideas? I might wait until after the big declutter to find them the perfect spot...at the moment they are pretty safe on the radiator but once we start using the heating again the cats like to sit up there and would just knock them off. I never win anything though so I'm pretty chuffed to have them!

Monday, 29 July 2013

Picture Positioning

I had a massive sort out of the bedroom and my clothes over the weekend, if you're interested in buying anything see my ebay page http://myworld.ebay.co.uk/willow5001. Loads of bargains most stuff starts at 99p! Anything that doesn't sell will go off to swapping websites or the charity shop as I love all the space in the bedroom now, post to come on that!

After hanging some pictures on the wall in the living room and playing with some table settings, I've moved some pictures and canvasses around in the flat, so just a quick update on the bookshelves and turtle tank.

The tank did look like this
A little cluttered and some of the photos were getting damp due to being near to the seam in the lid, now it looks like this
A bit less, the photos are all here now 
In the bookshelves in the hallway, I moved the pinboard in here as well and a few other pictures as the candles and canvases have moved off (one canvas on the table, the other 2 currently homeless). Also the china doll sherlock holmes lives here in the corner, no comment on that one it's not mine.
So that's the little change around a few weeks ago, there have been a few more switches recently, updates soon!

Sunday, 21 April 2013

New Art

I liked the look of this canvas on top of the tank in the office
But because it was hand painted and not sealed or wipeable I was worried it would get a bit damp on top of the warm tank (you can see in the picture above the water steaming up the tank a bit) so I took it off and was looking out for something to replace it.

I then got Groupon email a few weeks later with an offer to get a large world map art canvas for £35 (rrp £160) from here

I love maps, especially in an office space as they look very grand but I didn't want anything too dark as this is a small room with no natural light, so these were perfect as they are art prints of world maps in text, paint splatters, words, music notes etc all in the shape of the world map. I've not ordered self assemble canvasses before but this was actually very easy to put together, I just laid it all out on the bed stuck the bars down as instructed and then cut the corners. The hardest part was rolling the bars in to tighten the canvas as I would roll one and the one opposite would unroll but I was doing this on my own so I think it would be pretty straightforward with 2 people.
Here it is, I like that the background is white so it's a splash of colour in here but not too overbearing. I was torn between this and this other one but wanted to keep the background as light as possible. 
We have put the candles and photo frame back up on the tank in front of it that are on the desk below, we can still open the lid to the tank enough to feed the turtles with the canvas and the candles etc on there and just have to take it all off to clean the tank.
Some details, it looks pretty cool in person and as it's a print we're hoping it will be able to be wiped down (So far when I do the dusting I just run a cloth over the bottom of it) but if it does show any signs of getting a bit damp I think I could seal it with some spray sealer.


That's our new addition in the office, hoping to sort out a new desk at some point but it's pretty far down the list (After all the bedroom furniture). I'm leaning toward getting a table that we can use as a desk and also to eat at, as since I got my laptop I don't use the desk so much but it would be nice to still have one and we miss having a dining table.

Friday, 8 March 2013

Friday Inspiration

A collection of inspiring things I've seen this week, more on my pinterest

I've been thinking about DIYing something like this for ages, and I'd love to make some freestanding large art that doesn't need to be hung on the wall
I wanted to do this at the start of this year and forgot! It's a lovely idea though
I'm debating hanging something above our bed, suspended between the 2 wardrobes, after seeing this
I've started thinking about our outside spaces recently, and window boxes and planters
I'd love a chair like this for the office

Have great weekends everyone, I'm going out for a meal tonight with work and also tomorrow night with Toms family :)

Tuesday, 5 March 2013

Office Additions

There were 2 small changes in the office recently, this canvas migrated into here from the living room

In our first ever post you can see it's just leant on the back of the sofa, but it kept getting knocked and we were having our housewarming party the evening after taking these pictures so I moved it out of the way. This is also temporary really as I think it will get damp on top of the warm tank.

I made this myself, I would do a how to post but I didn't take pictures back when I made it and to be honest it's so simple I can do it in 2 sentences. Stick wooden letters to canvas and paint over everything in your chosen colour to make the 3D word, or words depending on your quote. Write on the rest of the words using a narrow tip marker, I used a stencil and did it in pencil first because my handwriting is awful but you could freehand it if yours isn't.

Also I put our old bath mat under the litter tray becasue it had a hole in it (the mat not the tray, it's in the middle so hidden by the litter tray but made it useless as a bathroom mat), and I've wanted to have a mat to put under this for a while to catch bits of litter so it's not strewn all over the floor. Now if only I could train them to wipe their paws on it...

This room will have some more changes made to it eventually like:
  • A new desk, larger than our current one, maybe a corner desk to maximise space.
  • A new desk chair - probably without wheels as it's not great on the wooden flooring
  • A new computer - This one was a hand me down and it works ok but it's massive (In the picture above see how the chair cannot fit under the desk because there is a monster sized computer there, also the desk is tiny) and OLD, seriously it's over 10 years old and until last year had never been connected to the internet, but it's keeping up just about. I'd like to get a laptop or netbook.
  • Depending on the desk we buy (Hoping to get one with it built in) some office storage like a small filing cabinet, so we won't have to keep the paperwork under the bed.
  • Some different art to go on top of the tank - As I like the look of the canvas there, but I think it needs to be something that won't be affected by the warm water underneath (Like in a sealed frame which I might DIY)
Although this room isn't a big priority as the stuff we have in here is functional and we have lots of other things to sort out first, so this will probably all be further down the line. Although you know I won't leave a room completely alone for long so there will be small upgrades along the way...

Thursday, 14 February 2013

Valentines Day Art

Happy Valentines Day!

While me and Tom don't usually do much for Valentines I've had the idea knocking about in my head for a while of making one of those canvases with the background painted then letters stuck over and it painted again in another colour, so when you peel the letters off they show up in the colour underneath. I've seen loads of them around on pinterest - take a look on my board here for examples. By the way, if you aren't on Pinterest yet you so should be, I could waste hours of my life on there (Well I already have).

Toms favourite band is Incubus, so I wanted to use a lyric from one of their songs, and make it a bit romantic to tie in with Valentines day so I chose the lyric 'Whatever tomorrow brings I'll be there' from the song Drive.

This is the finished article


To make your own you'll need:
  • A canvas or board to your desired size. I used wood from Toms old wardrobe which was in pieces in the garden, so I had plenty of laminated wood around to use.
  • Paint or patterned paper, or anything you can paint over for the background really, I went with sheet music for the song. Some tutorials show this done over an existing picture which looks great as well.
  • A different colour paint for the top
  • Vinyl adhesive lettering or adhesive vinyl (I didn't use this but it would have been about 500% easier if I had!)
  • Sponges and brushes
  • Glue or mod podge

How to:
1. Cut the paper for the background to size, or paint the canvas or board your chosen background colour (Then ignore steps 2 to 6 as these are just for covering the area with paper). I wanted both sides covered as I was using an old board from a wardrobe so it didn't look very pretty, if you are going for the same look leave an overhang of extra paper of a few cm either side (more on the side that's going to be the front) so you can cover the edges. I used tacky glue on one side and it really wrinkled when drying so that will be the back, I used mod podge on the front and that was much better so I'd reccommend using that instead.  If this being done over an exisiting picture or painting this would eliminate this step all together so skip ahead to step 8.

2. Cover your surface in mod podge, thinly and evenly so it doesn't soak the paper too much (The circles in the corners of the board are from where there were some holes left from when this was a wardrobe so I filled them before starting).


3. Stick the background paper down, making sure there are no wrinkles

4. When the one side is covered and fully dry repeat on the other side.

5. Fold over to cover the edges and stick the paper down underneath the folded over part with more mod pogde

6. Fold the corners like wrapping a present
Be very careful on this part as the paper will have been folded this way and that and might have wet glue on it, so this might happen.
I may have sworn at this point, but I fixed it once the glue was all dry by just sticking a scrap piece of sheet music over it as this part will be painted over any way.


7. Let it all dry thoroughly, I left it overnight (hidden under my wardrobe)


8. Figure out the spacing and placement of your letters. You want large enough letters so that you can see the background underneath and get the impact of it but also small enough so the front colour features too.


9. This is where I went off plan. I started this on Sunday and once I had the paper on and let it dry overnight it was Monday, Valentines day is Thursday, I therefore needed to get the lettering on Monday evening as Tom would be around Tuesday evening and I wouldn't be able to do any more work on it. So I needed to be able to get the letters on and paint one coat by the time Tom got home Monday evening, and leave it to dry to finish it on Wednesday. I work full time and don't have a car and did not have any vinyl letters hanging around (who does?), and no local hardware shops had them. I made the decision to draw my letters on and trust that I would have a steady enough hand to paint around them. I really reccommend that you use the vinyl though, as it took me ages to measure out and draw on the letters (I wanted a uniform size and shape) and then I had to paint around them which also took forever. If you use the letters you can stick them on, paint over the lot and just peel them off.

10. So after what felt like ages of measuring and even using a compass (Don't ask why I even own a compass I haven't used one since I did my GCSE maths!) I had lettering pencilled on looking like this:

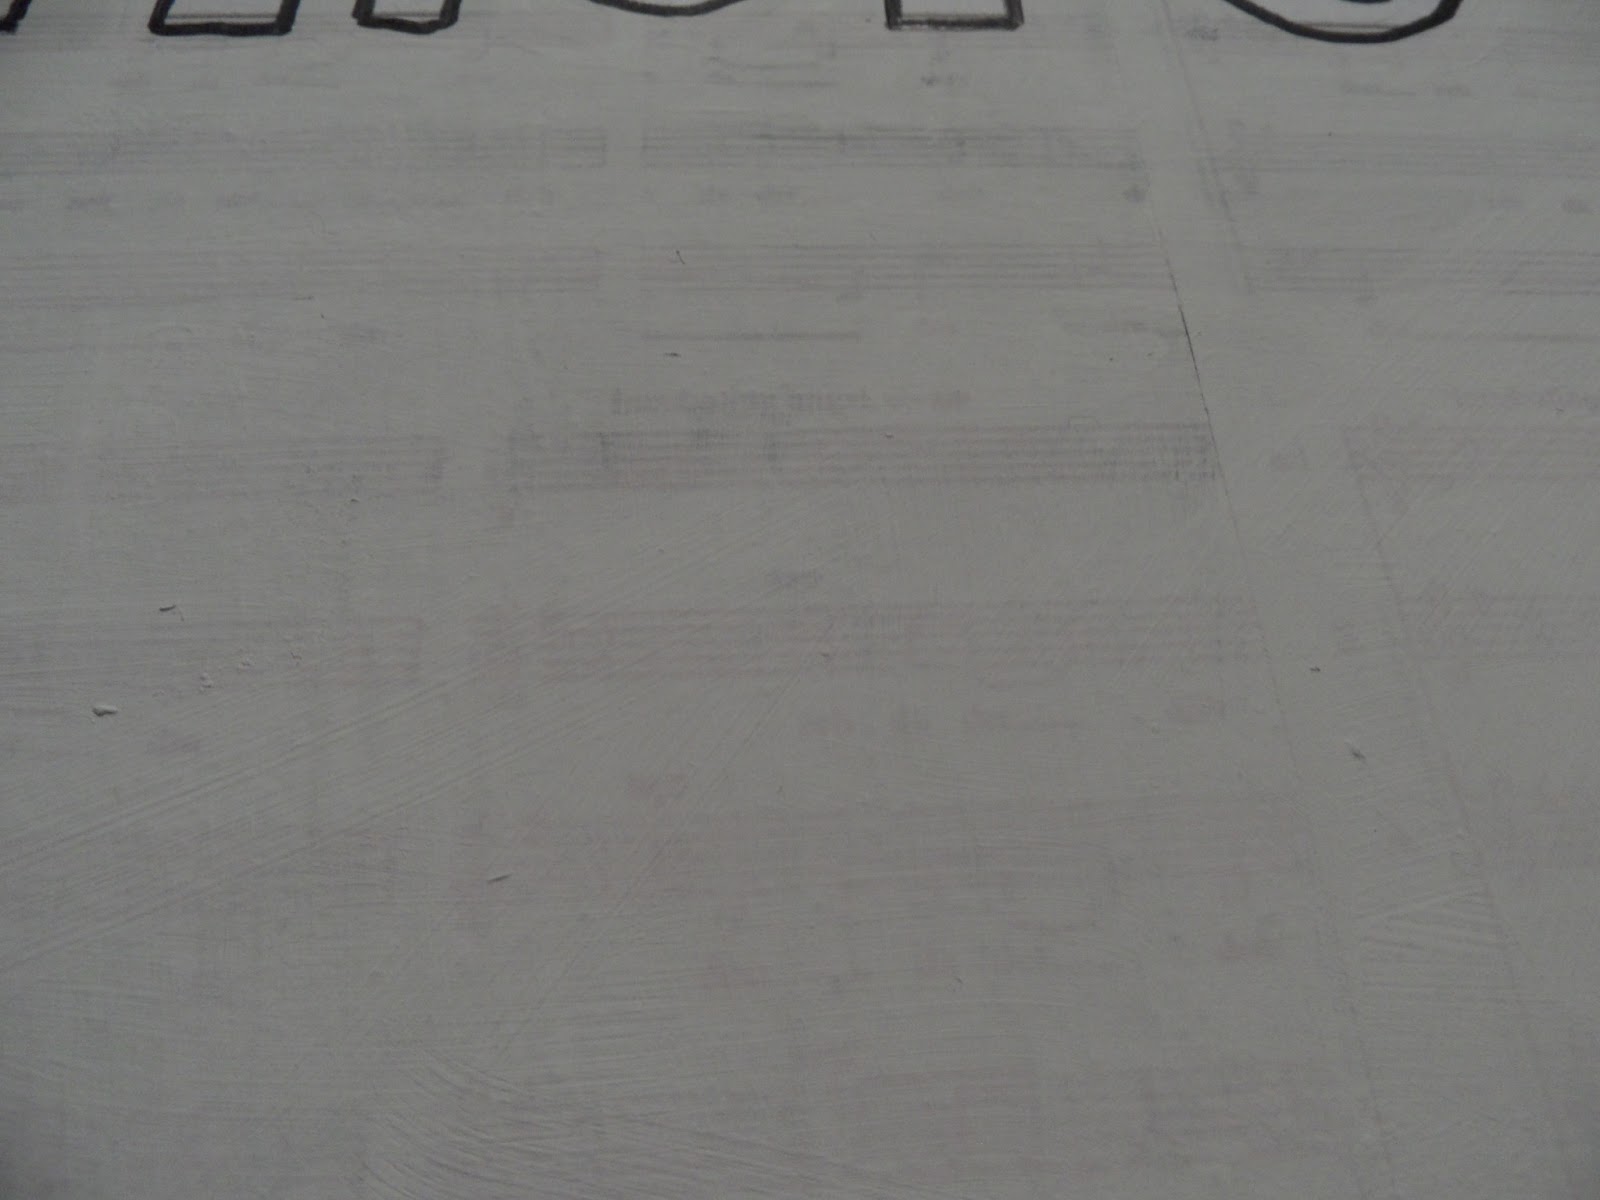
11. Then paint over (If you have thought ahead and gotten vinyl letters) or around (If you are stupid like me and didn't get any) your letters. I did 2 coats as I wanted to still see the music faintly under the white paint.

I went around the edges of the letters with black pen to tidy it up as my hand wasn't as steady as I'd hoped, but I left the heart without an outline jsut because I thought it looks better this way. You can see slight ridges of paint where I painted around the letters, so if I try this again I will definitely use the adhesive letters, althoguht it looks OK in person and I don't mind the slightly irregular look.
 You can still see the music underneath
 The side view
The back view, I coated it in mod podge as it will be leaning against a wall or something most of the time so I didn't want the paper to tear. You could add a hook for hanging on the back but since we aren't allowed to hang pictures any way I didn't bother on this one.
I hope Tom likes it, we're staying in tonight with an M&S meal for two, hope you're having a lovely Valentines day!