Showing posts with label craft. Show all posts

Friday, 18 April 2014

First Giveaway!

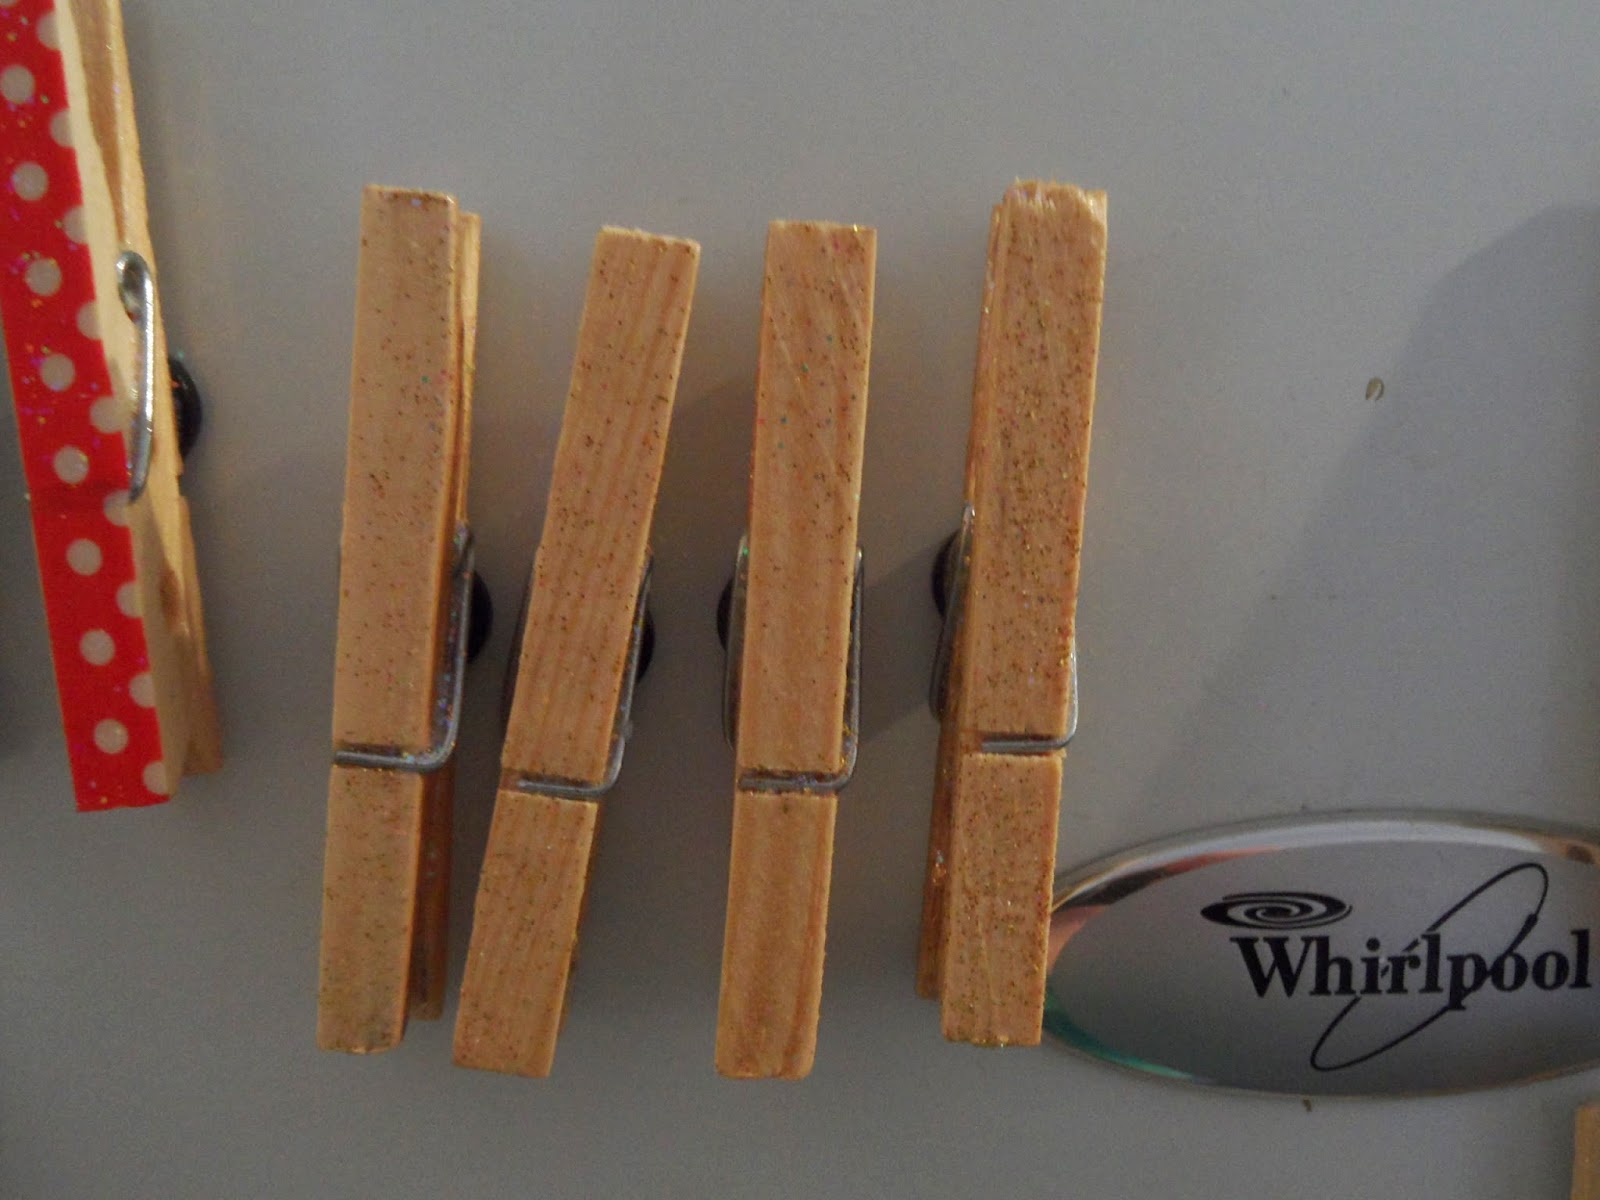
Sorry for not being around so much the last 2 weeks, the 3 posts per week schedule has gone a bit awry but I hope to be back on track next week. I'm super busy sorting out my charity fete (more info here) and confirming vendors for the craft sale part...also making things for my own stall. I've been making lots of candles, and also these fridge magnets.
Perfect for attaching notes or kid art as demonstrated by the Easter card from my niece Grace, who coloured and wrote it all herself, growing up far too fast!

Which brings me to this, my first ever blog give away! I wanted to do one for a while as a thank you to you all for reading the last year or so and while I was making these I thought they would be perfect.
The winner will get to pick a set of 4 in any pattern or the glittery ones, or you can mix and match :)

How to enter
You just need to be a follower of this blog on a blog reader or by email, and comment on this post where you follow. It's that simple. If you don't want to sign up for a blog reader like bloglovin or feedly or blogger then you can follow by email in the toolbar on the right.

The give away ends on the 1st of May, leave your email in the comment for me to contact you if you win!

Happy Easter!
xxx

Sponsor me to climb Kilimanjaro! www.justgiving.com/katie-kili
  JustGiving - Sponsor me now!

Wednesday, 9 October 2013

Simple Lavender Parcels

I've been posting in the wedding blog recently, check it out here if you're interested in weddings! In Mondays post I showed you how to make the lavender bags from dress sleeves, but only using the sleeves seemed a bit wasteful so I also made 2 lavender parcels for use in the drawers.

Cut a rectangle of fabric (again size depends on how much lavender you want to use) I wanted these pretty small
 Sew up 2 sides to make a pocket
 Turn inside out and fill with lavender
 Sew up the top
Fold the top over into a point, hiding the stitching. I just added the bead for a little decoration and to disguise the stitches a bit (I am not a neat sewer!) but I think it looks like a little clutch bag!

I also did this one following the same steps at the start but I didn't sew the top of the pouch closed just folded it over and sewed it down, adding the button to hide the sewing.


They take literally a few minutes to make, 10 minutes tops and I am no expert at sewing (I actually really suck at it) so I'd say most people could whip up a few of these one evening!

Now I have my lovely lavender bags all ready to make my clothes smell pretty.
This project has given me the confidence to try sewing a little more, as I thought I was terrible at it but they turned out great, baby steps though I won't be whipping up dresses just yet...maybe some pillow covers though...

Monday, 7 October 2013

Simple Lavender Bags

It feels like forever since I've actually had a project to share with you so this week I'll skip the decluttering post as I've not had much time to actually get any of it done and share the lavender bags I made (ages ago) from the lavender out of our garden.

The lavender had been drying for about a month in various places round the house, then sat on the coffee table for a few weeks until I got around to doing these, so it was nice and dried out.

I used an old dress which I had spilled nail varnish over and ruined, using the sleeves is easiest as they're already hemmed on the cuffs and are already tubular.

Cut off the amount needed (this will vary by what size you want and how much lavender you have to fill them)
 Turn it inside out and sew up the one side
 Turn it right way out again, and you get this nice little pouch
Sew the hemmed cuff part closed, making sure to only sew the insides of the hems together so it can't be seen from the outside. I don't recommend using your leggings to hold your needle but I don't have a pin cushion...
Add in a ribbon halfway along for hanging by just placing it between the 2 sides and continue sewing them together (this is a bit fiddly but I got there in the end)
Other ways I did think you could attach this if it really gets impossible would be to just loop the ribbon and sew it onto the top front of the pouch using a button or cute brooch to hide the stitching (unless you are really neat and can make the stitching look pretty - this is beyond my skills)
 Fill it up with lavender (I also used some dried mint for freshness) before sewing the last bit
 Ta-Da!
I'm pretty proud of them, I never sew and am pretty bad at it but these are so easy even I managed it. All you need is some material, ribbon, needle and thread and of course the lavender. This project was 100% free as I used things we already owned but if you had to buy it all in it would be under £5 I think as you only need a minimal amount of fabric, some hankies or scraps would do.

I also used some more of the fabric for some smaller little parcel ones for inside drawers, post on those coming up soon!